· astrophotography · 4 min read
Looking for a soul for the Raspberry Pi
Testing Indigo Sky for my astrophotography setup.
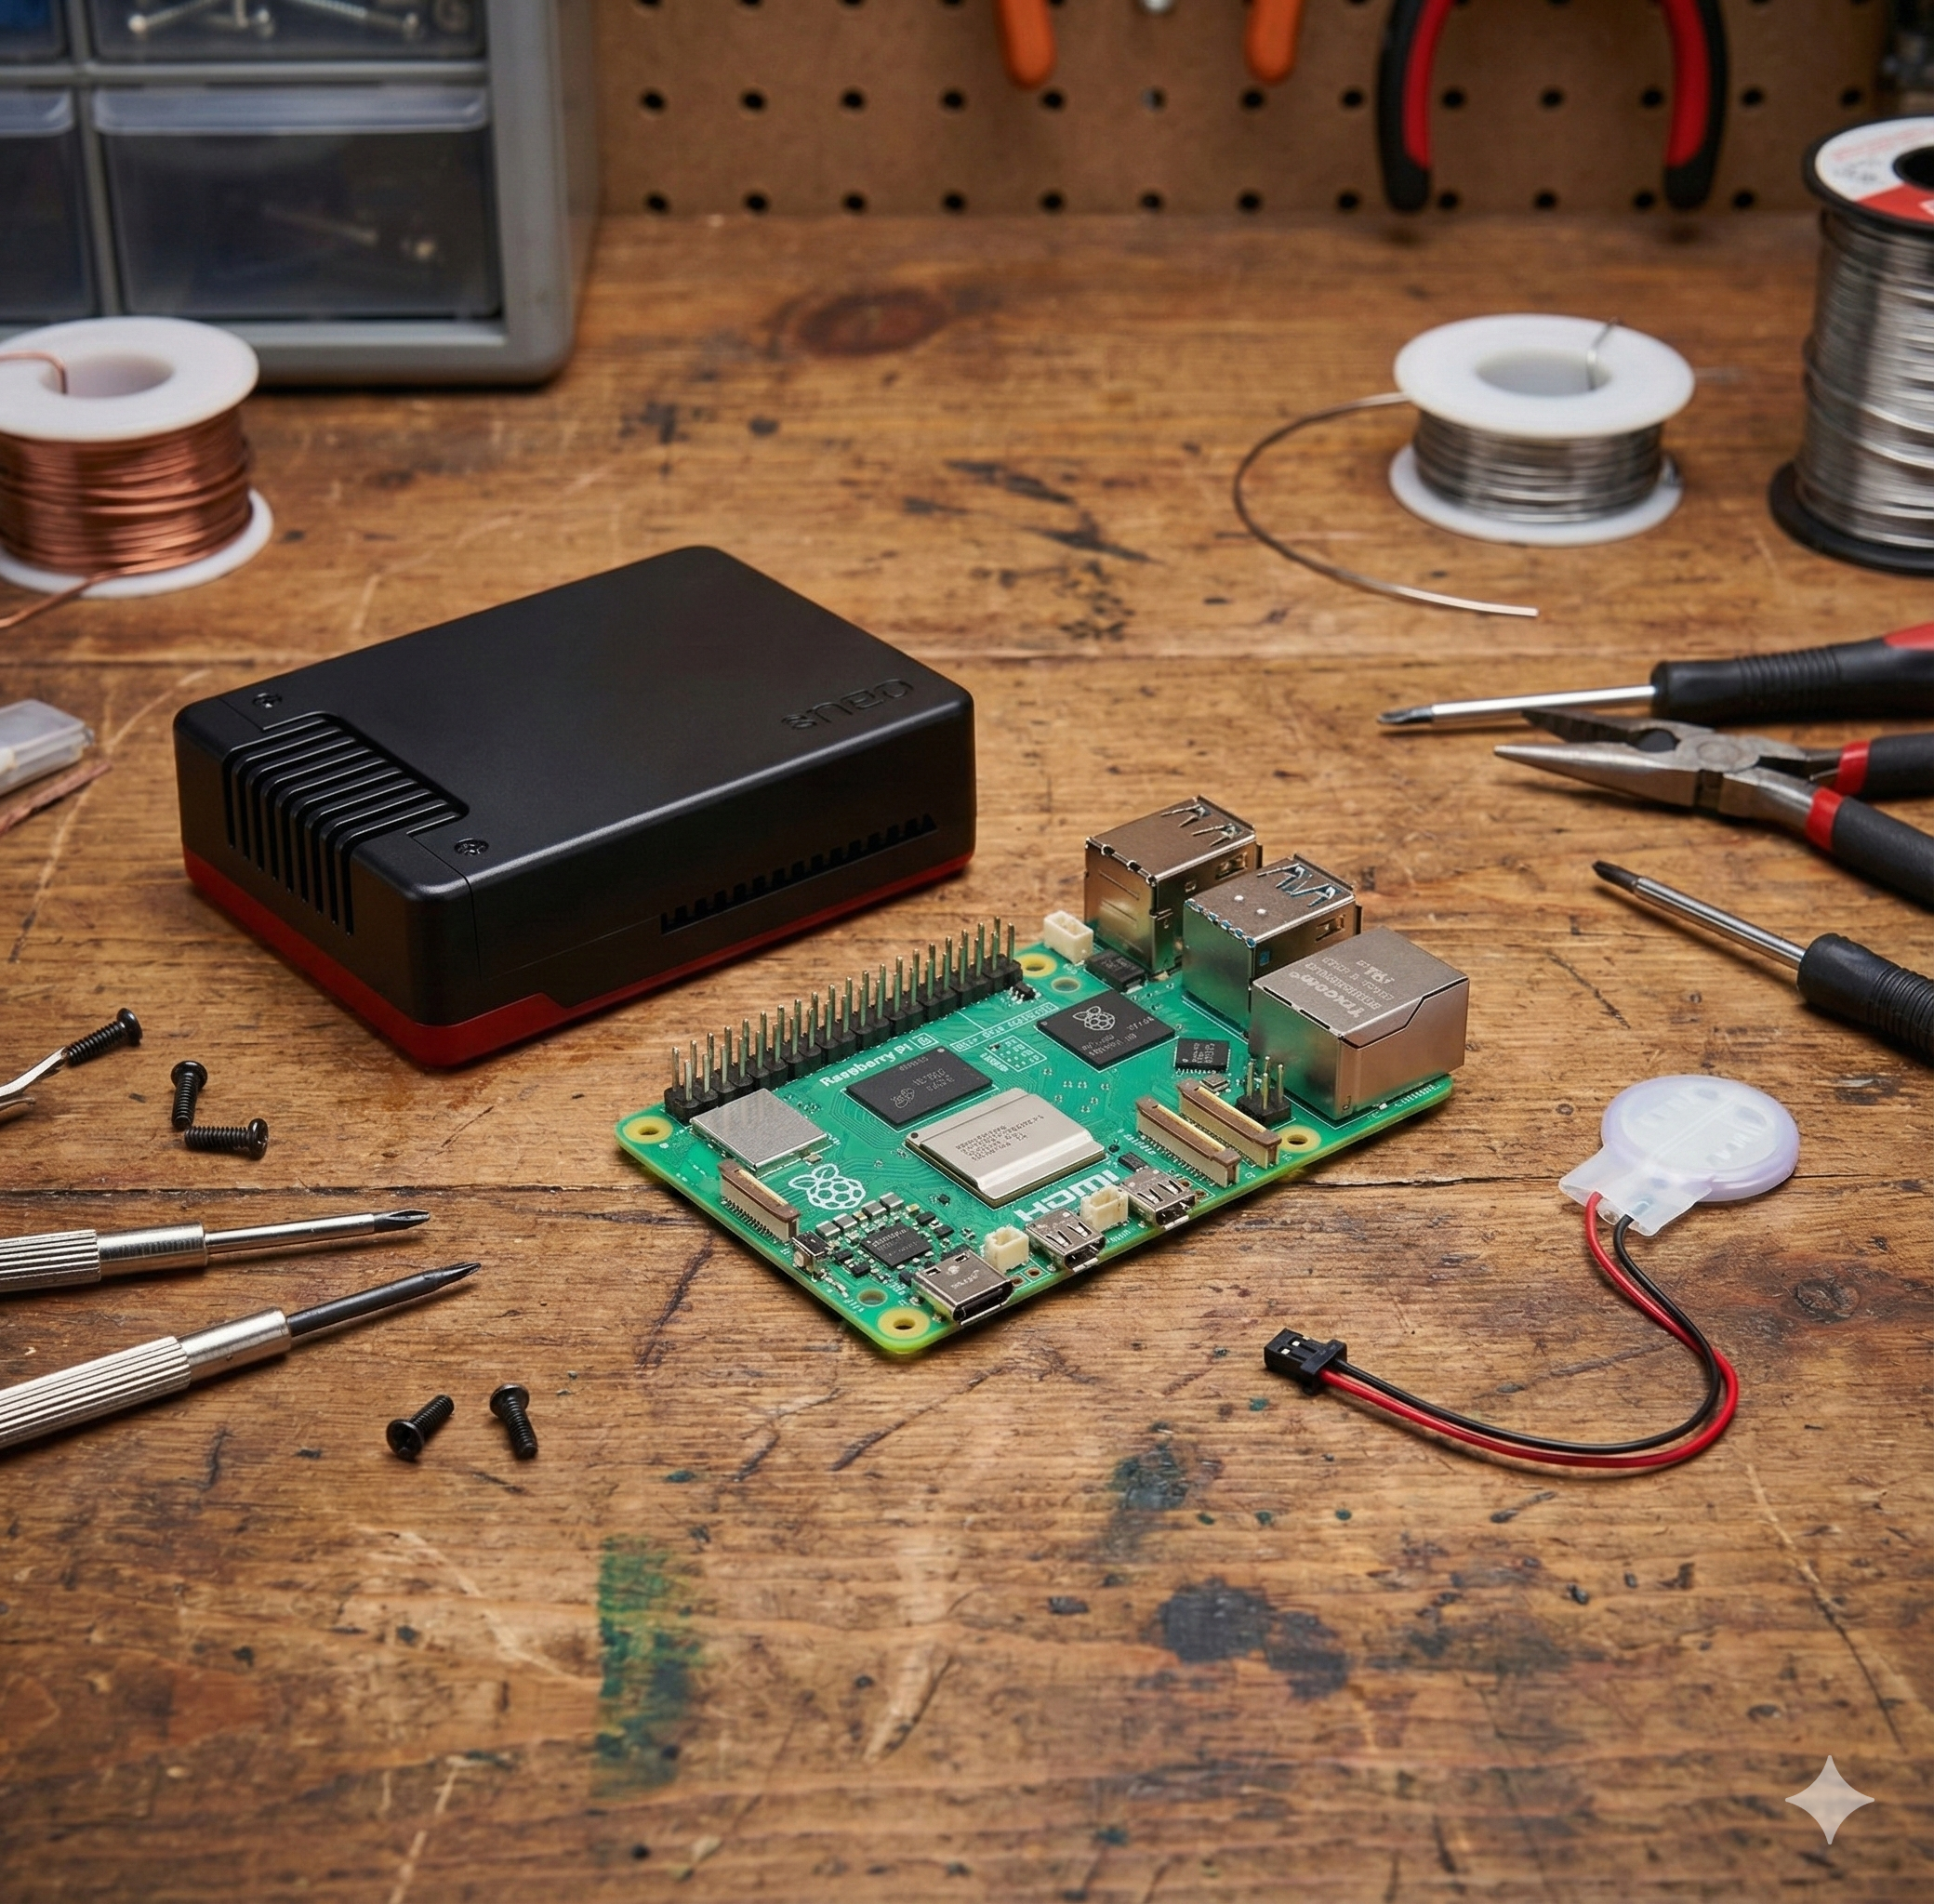
When I got my Raspberry Pi 5 completely enclosed, I started to search for what OS I could use on it. I don’t want to use a Microsoft solution, at least not for now; we will see.
I found that Astroberry was the most popular option among astrophotographers that choose the DIY way. But the problem is that, for some reason, it only supports up to the Raspberry Pi 4. It’s a little weird because the Pi 5 was released in October 2023.
Indigo Sky
After searching for options, I found Indigo Sky, which is a modern distribution based on Debian, with the promise of being a modern implementation of the INDI protocol.
The Setup
I downloaded the version compatible with the Raspberry Pi 5 (2025-09-26-indigosky-armhf.zip) and started the installation process.
I used the Raspberry Pi Imager for macOS to install the OS on the SD card.
The configuration
After booting the Raspberry Pi 5 and following the instructions, I connected to the local WiFi network and then I was able to access the Indigo Sky interface and the SSH interface.
I tried connecting a regular network cable to my WiFi router to try to access it using my local network, but it didn’t work. Maybe it is something related to my internet service provider, but in the router, the option to isolate the devices is disabled. So, I gave up on this idea.
The problem is that I lost access to the internet after connecting to the local WiFi network provided by Indigo Sky. This was so frustrating for me because I am learning how to use this platform, so I need the internet to figure out what I need to do. I had to connect and disconnect constantly.
Indigo Sky had an option to connect via WiFi to my router (in order to get internet access), and also another interface for the local WiFi. I tried to have both enabled but it was impossible; as soon as the interface connected to my WiFi router, the local Indigo WiFi was disabled and I got locked out of my Raspberry Pi.
So, I gave up and decided to apply any software updates via cable to my router and connect via local WiFi to Indigo Sky. Anyways, in the field, I will not use the internet and need to rely on what is already configured.
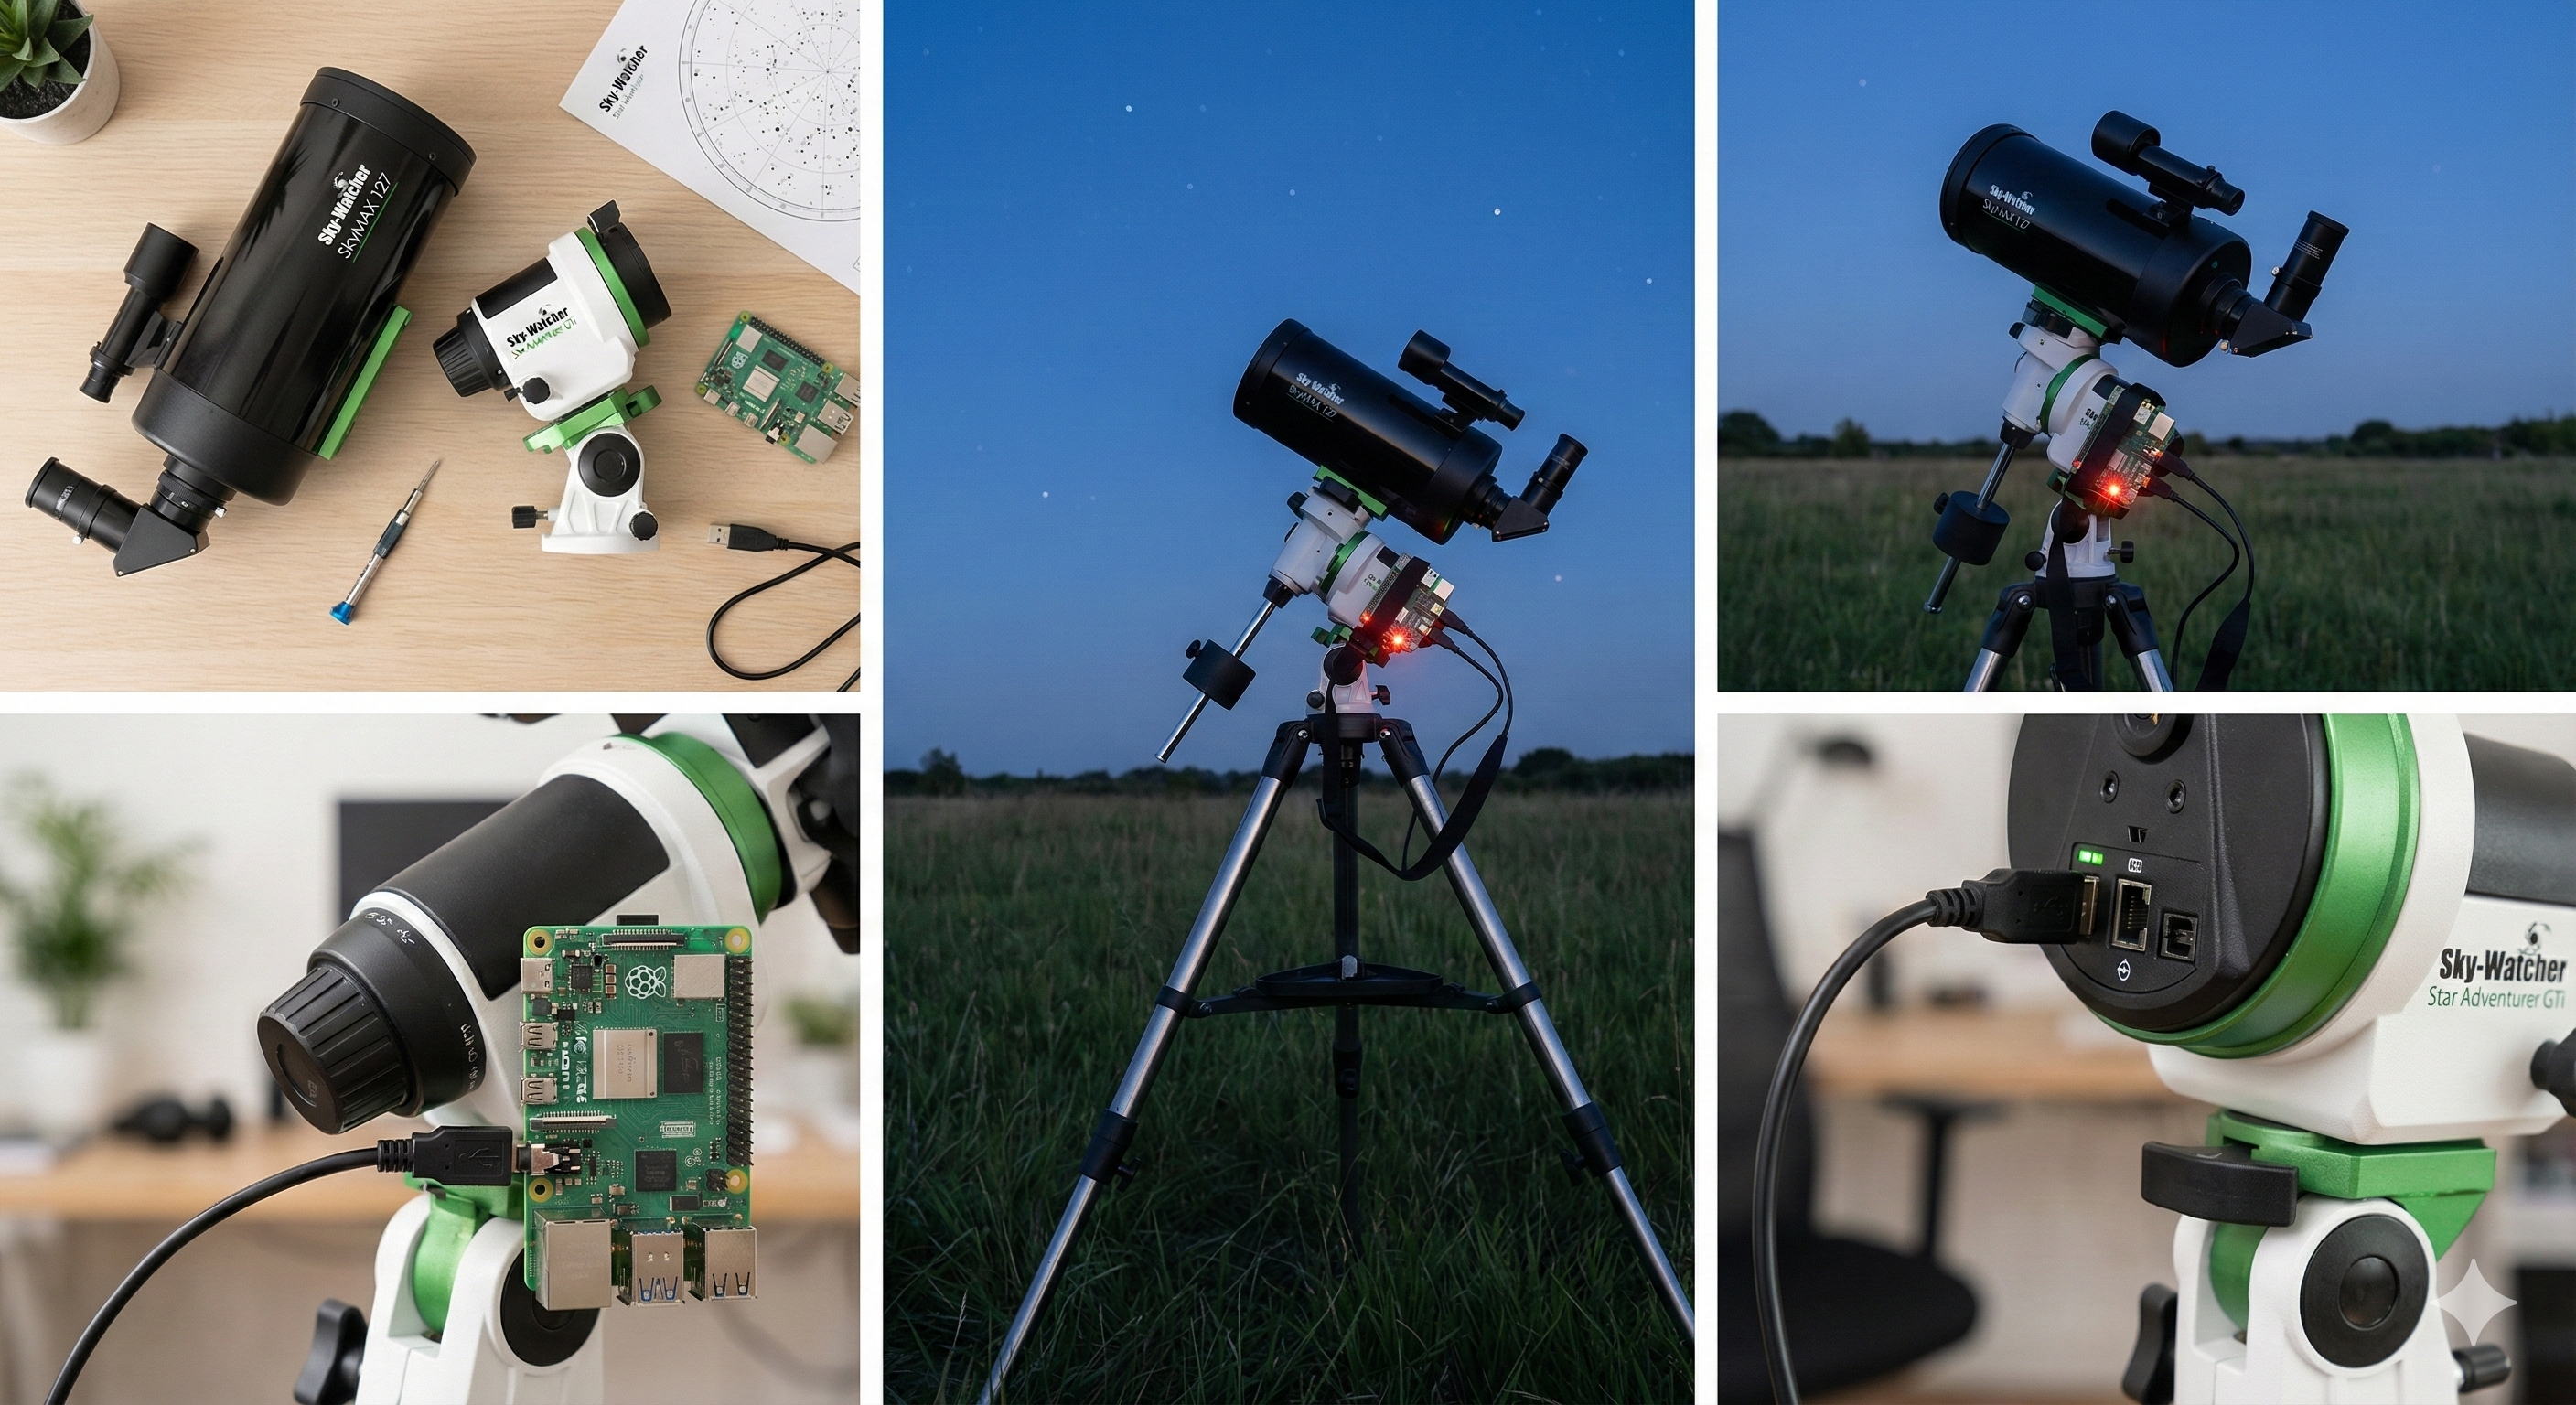
Connecting my camera
I had an old (2015) camera, a Nikon D5200, that I wanted to connect to my telescope and control via Indigo Sky. After some searching, I found that this is a CCD camera, so I updated (or tried to) the Indigo Sky configuration. The camera was detected, but I couldn’t get a picture taken by Indigo Sky. I only got a “clack” sound as the shutter opened, but the image was never taken.
It looks like the interface aggressively forces a specific preview setting (ENABLED_WITH_HISTOGRAM) that completely breaks the image capture pipeline for DSLRs. No matter how I initially configured the camera, the browser would silently overwrite the settings immediately upon loading, causing the capture to fail.
Digging deeper via SSH, I confirmed that the backend hardware works perfectly on its own. The real issue is that the Web UI not only applies the wrong setting but also fails to detect when I manually correct it in the Control Panel. This makes it impossible to save a working configuration through the interface, as the system doesn’t register the parameter change.
I’ve formally documented these findings in Issue #702, detailing the behavior on my Raspberry Pi setup. Since the problem seems isolated to the frontend logic, I’ve offered my help as a developer to investigate the codebase and hopefully contribute a fix for the community (still waiting for a response).
Conclusion
I was disappointed with Indigo Sky, so I continued my search. It looks like in the Astrophotography community, the king is the ZWO ASIAIR, which is a complete solution to control cameras, mounts, and other gadgets. It is a bit pricey, but it is worth it. My problem with this option is that I get forced to use ZWO cameras ONLY, so I discarded this option.
If I bought the ZWO ASIAIR, I would have lost the money spent on the Raspberry Pi 5 setup (less than 100 USD). But that wasn’t my main problem; the problem is the closed solution in terms of hardware.
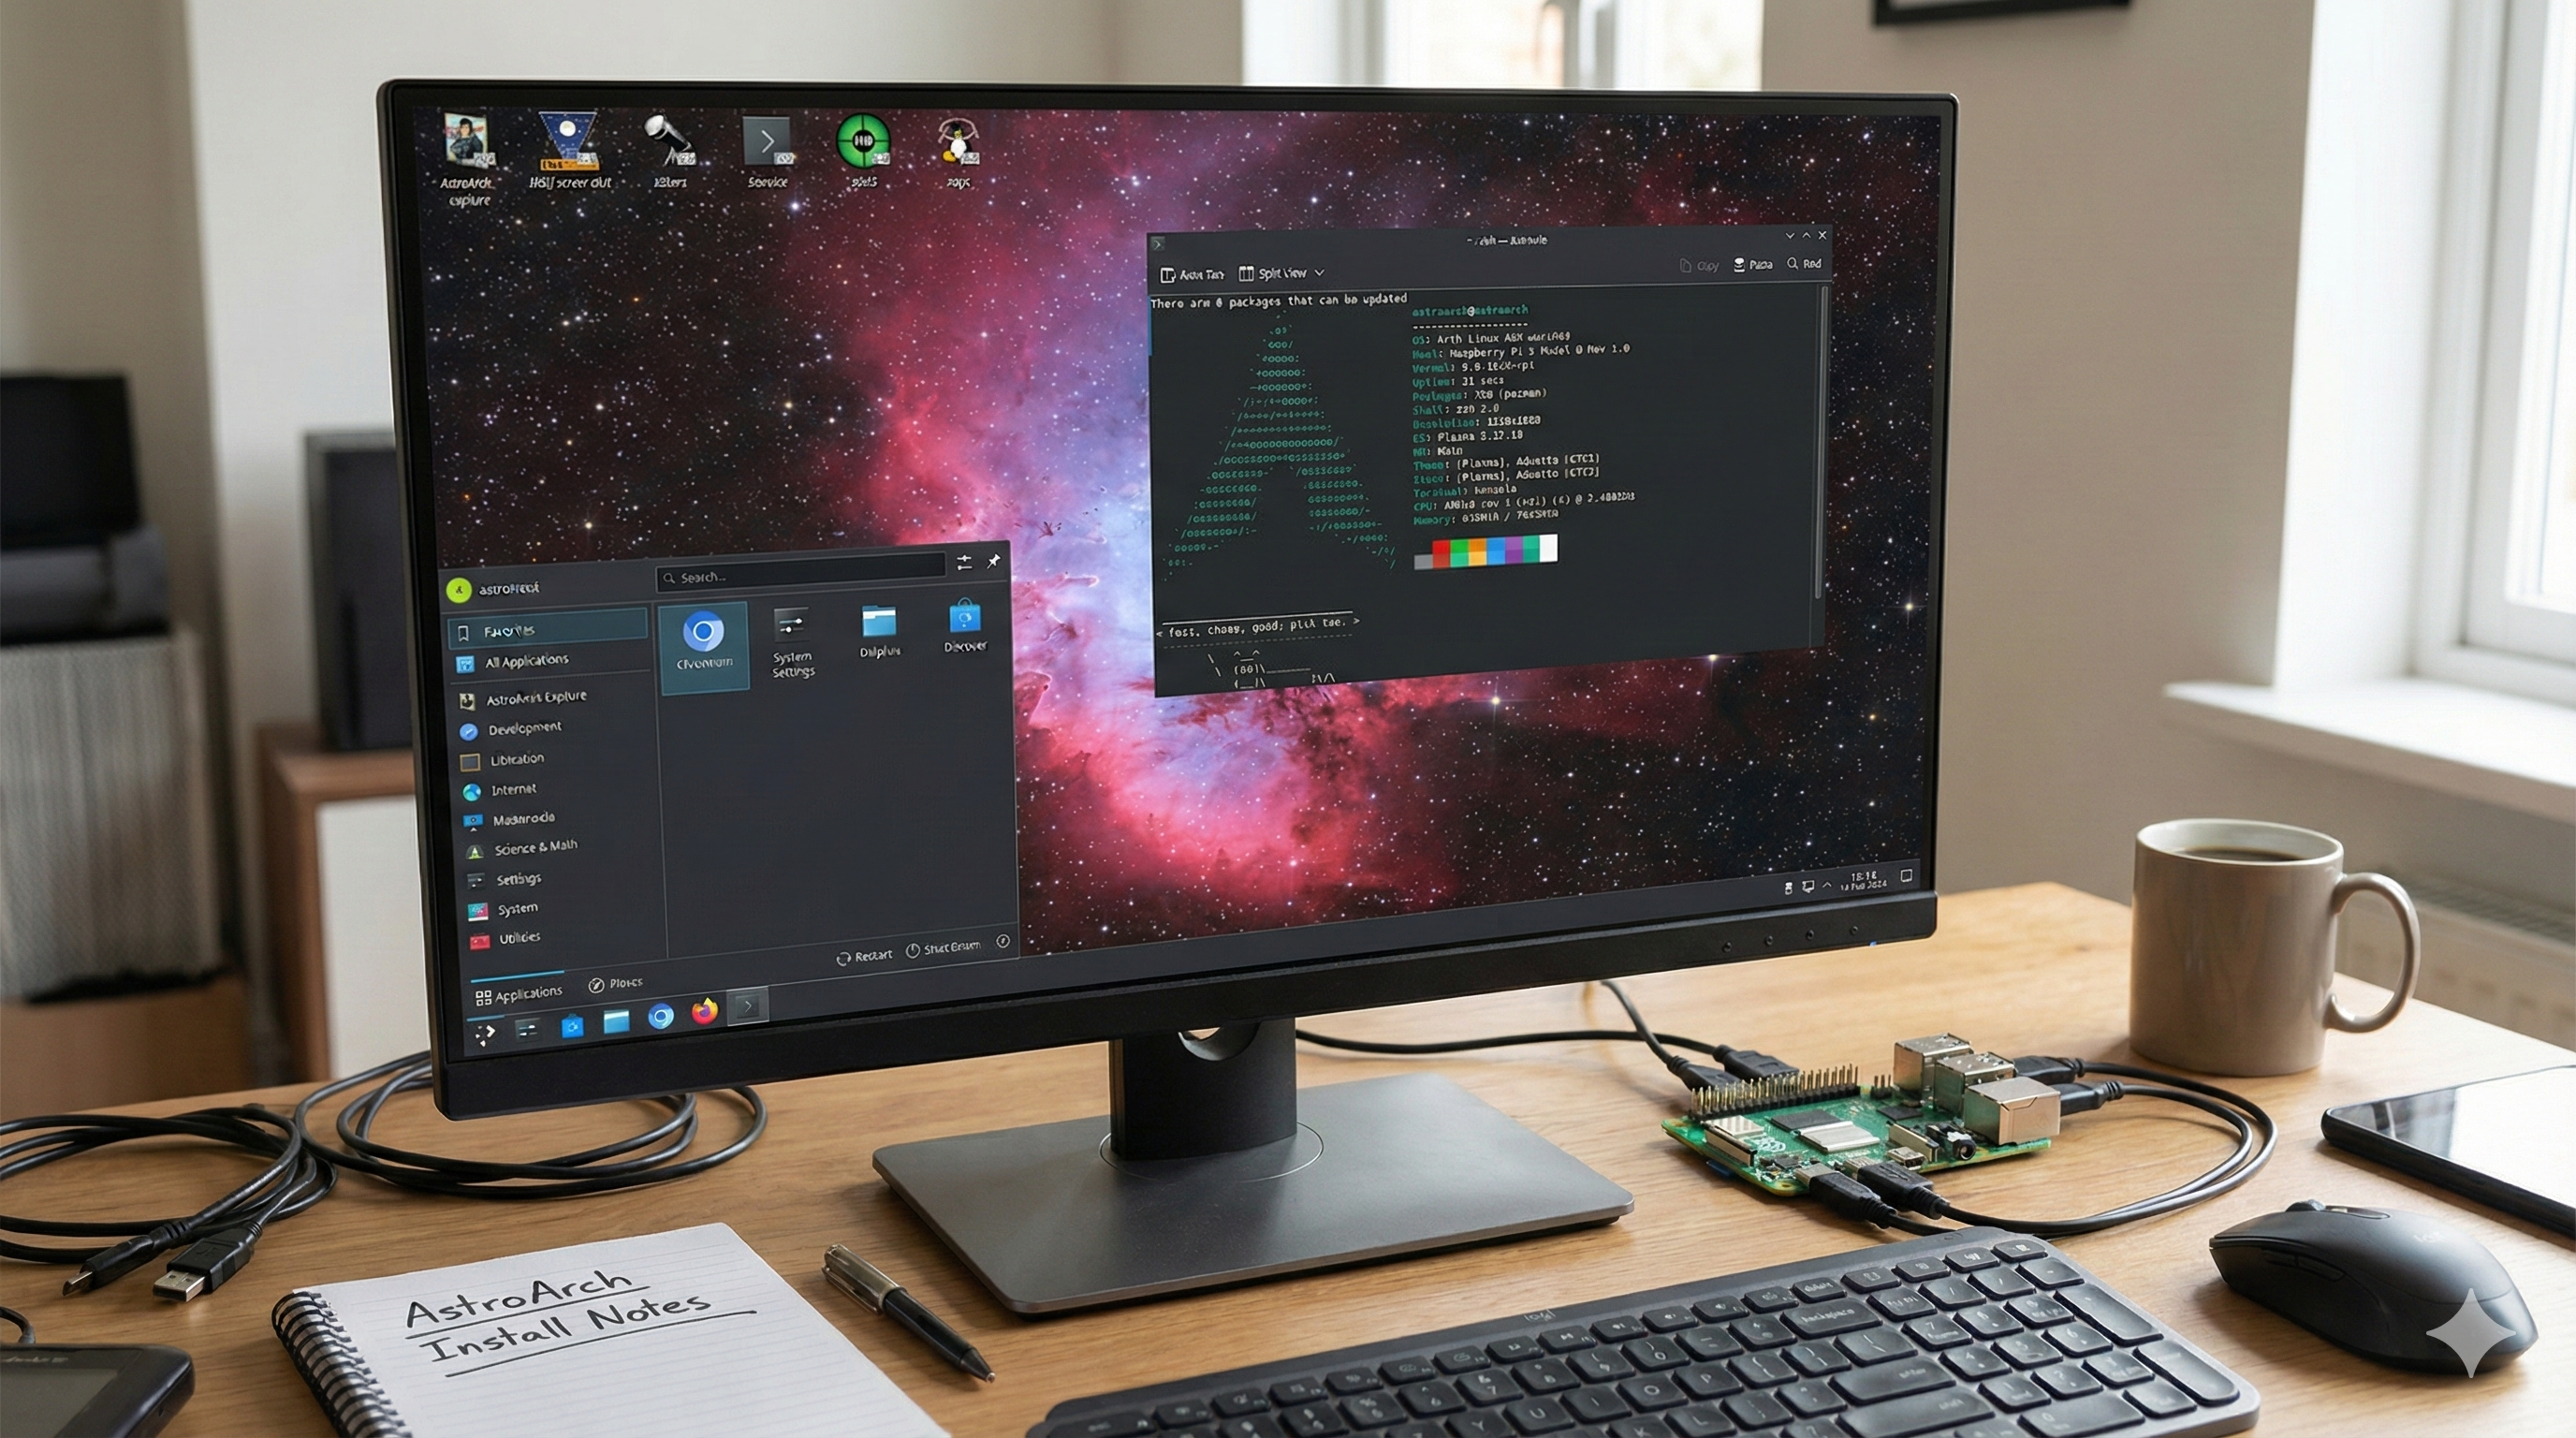
Luckily for me, I found another open-source solution which is a full distribution named AstroArch.
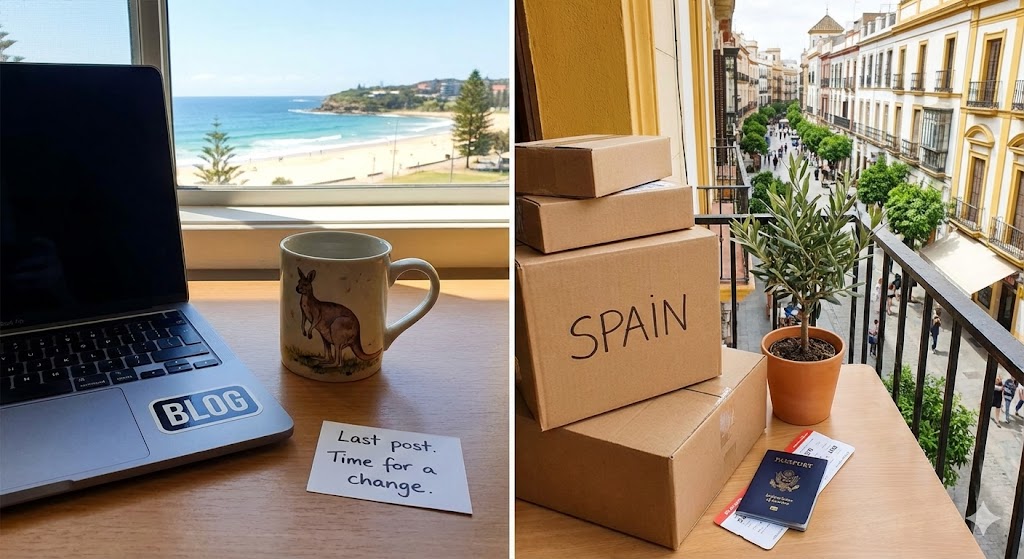
I will talk more in the next posts about this distribution and my experience with it.